Products
Solutions
Resources
9977 N 90th Street, Suite 250 Scottsdale, AZ 85258 | 1-800-637-7496
© 2024 InEight, Inc. All Rights Reserved | Privacy Statement | Terms of Service | Cookie Policy | Do not sell/share my information

Setting the snapshot lets you compare any future changes that we make to the plan to our current plan.
It is important to set the snapshot before applying any progress to the schedule. This lets you compare the current progress against the snapshot plan.
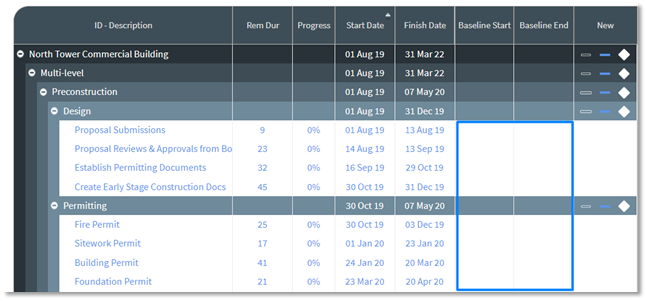
Before setting the snapshot, the SN1 Start and SN1 End dates columns show no values.

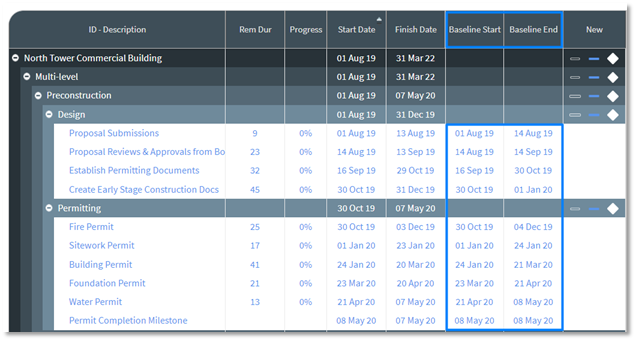
After the snapshot is set, you can view the SN1 Start and SN1 End dates shown in the column. The snapshot dates are now populated in Schedule.
If the snapshot has not been set when a Markup Cycle is started, Schedule requests confirmation to establish the snapshot so any markups or changes to the schedule can be compared before and after review.
Gantt bars of up to 2 snapshots can be visualized against the current schedule Gantt bars for comparison. Gantt grid columns show variances between the current schedule and the snapshot columns.
Schedule uses CPM for scheduling a set of activities. This method calculates the activity dates based on the durations and logic.
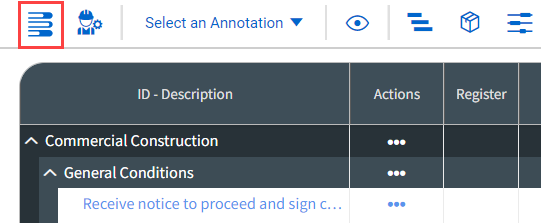
To schedule the project or review schedule options, click Schedule.
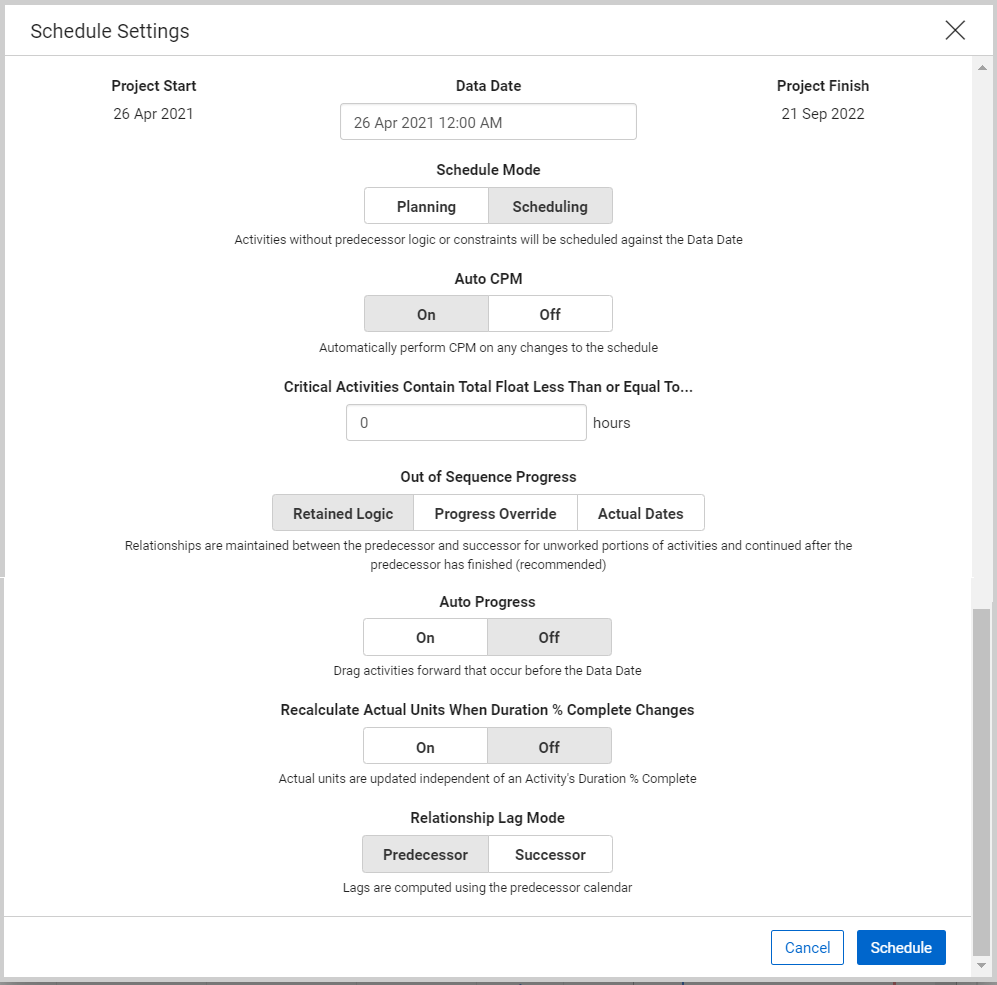
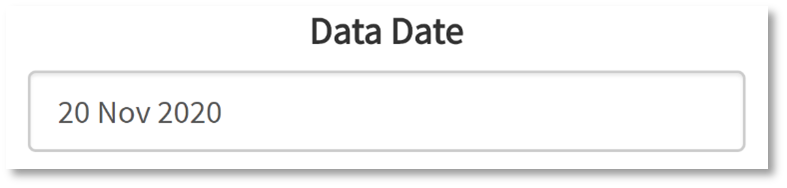
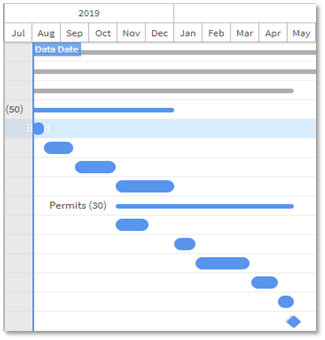
Set the Data Date to the day and hour you want to update the schedule to. The Data Date is used as the starting point to calculate the dates of all remaining activities. The Data Date is represented by the blue vertical line on the Gantt chart
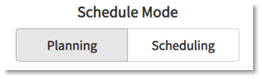
The Schedule Mode determines how activities without predecessor logic or constraints will respond to the updates being made to the schedule.
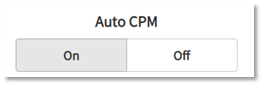
Selecting the Auto CPM option On updates activity duration and sequence as actual progress is entered into Schedule. Switching this to Off prevents the schedule from automatically adjusting when activity is updated, and it must be adjusted manually. This is particularly useful if schedulers plan to update multiple activities in bulk, and then determine the CPM.
Out of Sequence Progress

Auto Progress determines if activities automatically start and progress when the Data Date has passed.
Additional Information
9977 N 90th Street, Suite 250 Scottsdale, AZ 85258 | 1-800-637-7496
© 2024 InEight, Inc. All Rights Reserved | Privacy Statement | Terms of Service | Cookie Policy | Do not sell/share my information